
As a web developer primarily utilizing .NET for backend server development, and as one who uses Linux for my own hosting environments, Microsoft’s efforts to make .NET 5 cross platform are welcome. Over the Labor Day weekend, I spent a bit of time seeing how I could leverage this to host .NET web applications myself. While I mention Mint Linux, specifically, this guide should apply to any Debian/Ubuntu derivatives.
If you’ve read my other blog posts on getting WordPress set up and working on Mint Linux VM, I’m using a clone of the same VM that I use for this site in my experiments.
Microsoft’s approach to deploying and developing .NET applications to Linux/OSX utilities Docker. Docker is a virtualziation container that, essentially, can build an image from configuration files that encapsulate your entire application in very much the same way that a Virtual Machine would encapsulate/virutalize a machine/operating system. Docker containers, though, are light weight and multiple containers effectively share the same OS/kernel. Docker also has nice management features for deployment / continuous integration similar to other systems like TeamCity. Docker containers are also built entirely from a simple script called a “Dockerfile.”
As such, getting Docker install and working on Mint is the first step. Fortunately, this general entails installing some packages.
Here are the specific commands that I executed to get Docker installed and confirmed to be working:
sudo apt-get update
sudo apt-get install linux-image-generic
sudo apt-get install linux-image-generic-lts-trusty
sudo reboot
sudo apt-get install apparmor lxc cgroup-lite
sudo apt-get --only-upgrade install curl
cd Downloads
curl -sSL https://get.docker.com/ | sh
sudo docker run hello-world
The output of the Docker “hello-world” test included this verbiage as confirmation:
Result:

Status: Downloaded newer image for hello-world:latest

Hello from Docker.
This message shows that your installation appears to be working correctly.
Another recommended configuration step to avoid using root for running docker is to add your login to the docker group:
sudo usermod -aG docker {USERNAME}
sudo reboot
docker run hello-world
With Docker in place, we’re ready to grab one of Microsoft’s .NET Docker images to run/test with. This requires cloning Microsoft’s samples repository and running the appropriate Docker commands:
apt-get install git
git clone https://github.com/aspnet/Home.git aspnet-home
cd aspnet-home/samples/latest/HelloWeb
docker build -t aspnet-home-helloweb .
docker run -it -p 5004:5004 aspnet-home-helloweb
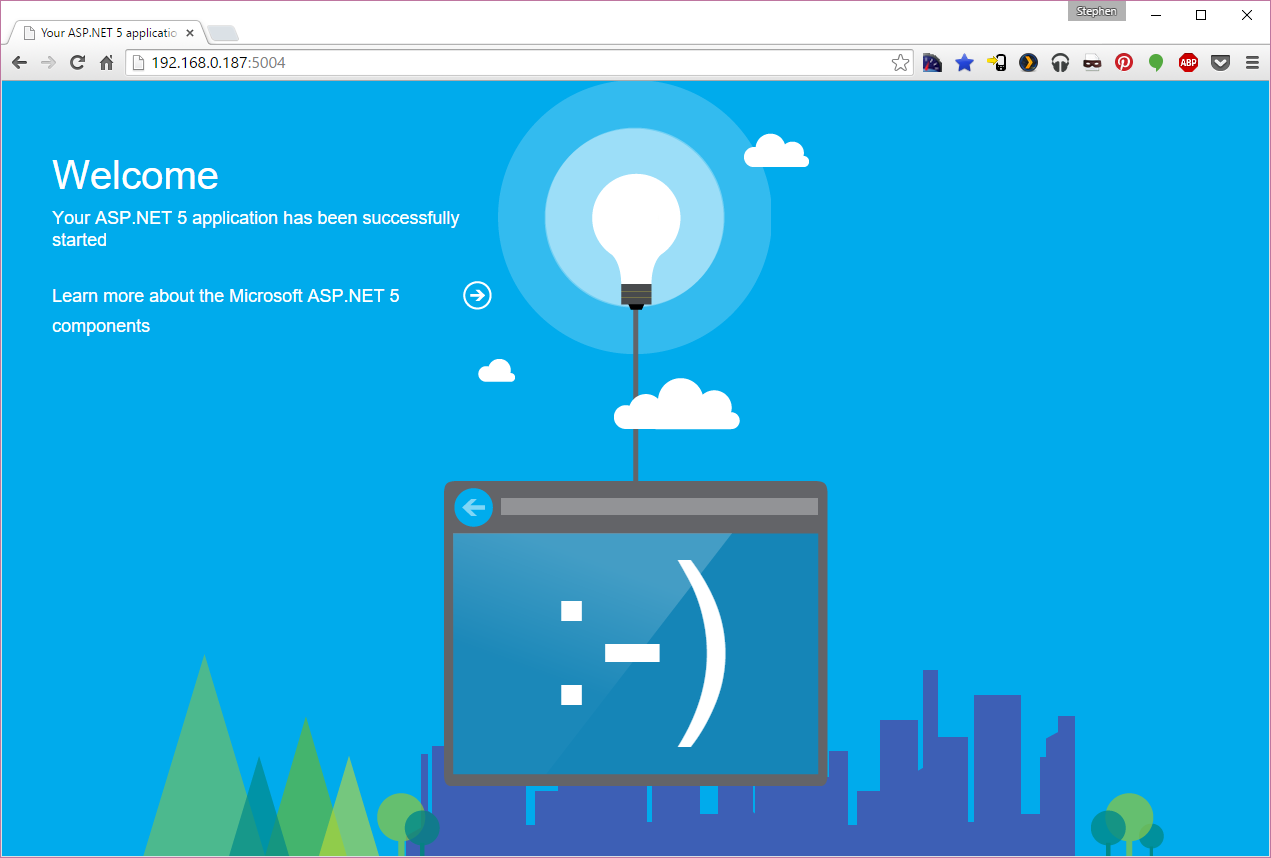
Docker will download all of the dependencies that are needed and spin up a web host for the .NET application. As you can see, it’s hosted on port 5004. Browsing to your localhost port 5004 will display the output of the sample ASP.NET “HellowWeb” application. If you have trouble creating the the image in the “latest” folder, you can try one of the other beta folders.
The relative ease of getting this up and running is pretty impressive. But it doesn’t stop there. The sample containers are handy, and you can use them straight away to develop you own applications, but setting up the development environment for use outside of Docker, and installing VSCode, Microsoft’s cross-platform IDE, opens up a lot more possibilities.
In order to install the .NET runtime, we need a (3) primary components: MONO, libuv, and dnvm. Again, this can all be install from a shell command line:
Installing MONO / libuv / DNVM:

sudo apt-key adv --keyserver keyserver.ubuntu.com --recv-keys 3FA7E0328081BFF6A14DA29AA6A19B38D3D831EF
echo "deb http://download.mono-project.com/repo/debian wheezy main" | sudo tee /etc/apt/sources.list.d/mono-xamarin.list
sudo apt-get update
sudo apt-get install mono-complete

sudo apt-get install automake libtool curl
curl -sSL https://github.com/libuv/libuv/archive/v1.4.2.tar.gz | sudo tar zxfv - -C /usr/local/src
cd /usr/local/src/libuv-1.4.2
sudo sh autogen.sh
sudo ./configure
sudo make
sudo make install
sudo rm -rf /usr/local/src/libuv-1.4.2 && cd ~/
sudo ldconfig

sudo apt-get install unzip
curl -sSL https://raw.githubusercontent.com/aspnet/Home/dev/dnvminstall.sh | DNX_BRANCH=dev sh && source ~/.dnx/dnvm/dnvm.sh
dnvm
dnvm upgrade
DNVM is the .NET SDK Manager which also installs the .NET Runtime (DNX) and the .NET Utilities manager (DNU). Since most .NET applications utilize NuGet, we also need to make a NuGet configuration file so that packages that are restored using DNU are handled properly. By default, there will not be a .config file, so you’ll need to create it here: ~/.config/NuGet/NuGet.config. It should look like this:
<?xml version="1.0" encoding="utf-8"?>
<configuration>
  <packageSources>
    <add key="AspNetVNext" value="https://www.myget.org/F/aspnetvnext/api/v2/" />
    <add key="nuget.org" value="https://www.nuget.org/api/v2/" />
  </packageSources>
  <disabledPackageSources />
</configuration>
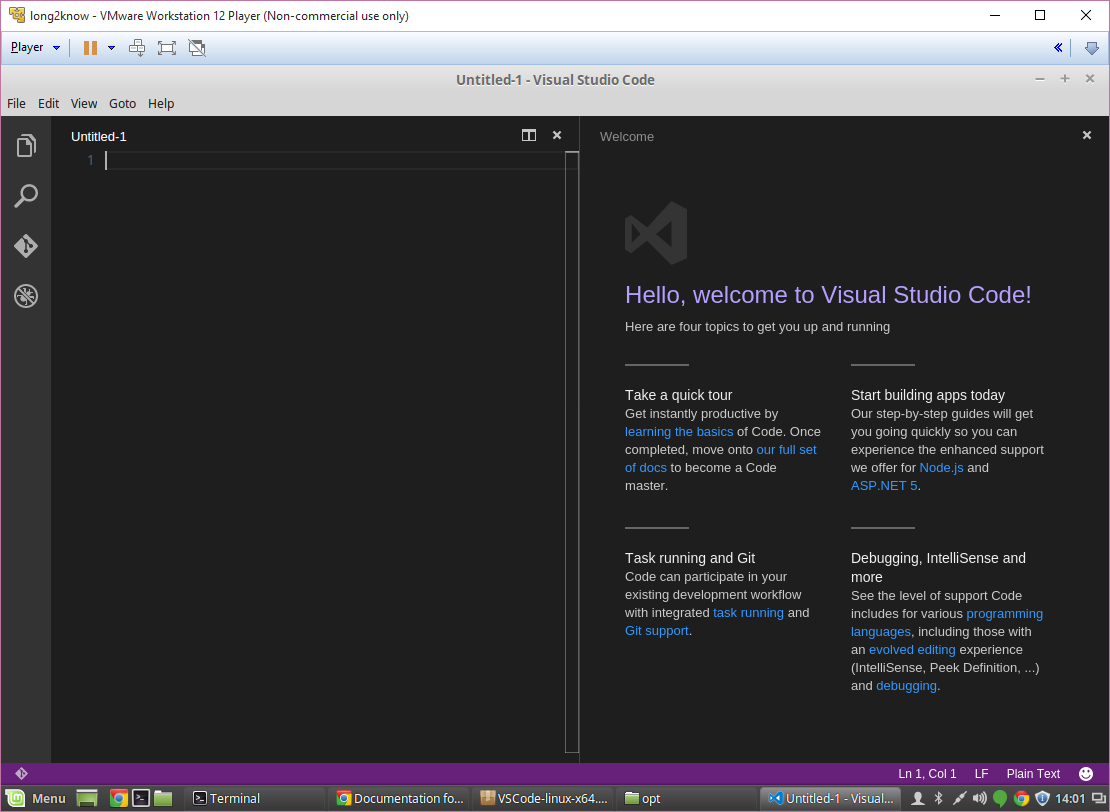
The last piece of the puzzle is to install the VSCode IDE. You can either follow the official instructions, or you can install using umake:
After installing, VSCode will have a short-cut in Mint’s launcher. Clicking that brings up VSCode:
With all of the parts install, we can actually run web/console applications directly on Linux. If you’re familiar with MONO, this isn’t an earth shattering process, but it’s nice that it works with Nuget, seamlessly, and is supported officially by Microsoft.
To get to get a basic console applications running, for example, create a folder to hold your source files. I created one in ~/Documents/console-app. Once created, you can select “Open Folder” from the VSCode menu. For simplicity, you can grab the project.json and program.cs from Microsoft’s Samples.
project.json:
{
    "dependencies": {

    },
    "commands": {
        "ConsoleApp": "ConsoleApp"
    },
    "frameworks": {
        "dnx451": { },
        "dnxcore50": {
            "dependencies": {
                "System.Console": "4.0.0-beta-*"
            }
        }
    }
}
program.cs:
using System;

public class Program
{
    public static void Main()
    {
        Console.WriteLine("Hello World");
    }
}
After saving those files, you can cd to the source folder and run it directly with dnx:
cd ~/Documents/console-app
dnu restore
dnx run
This will restore all dependencies and execute the console app. You should see the single line of output “Hello World.”
That’s it for my initial cursory setup of .NET 5 Core on Mint Linux. I’m pleased with the setup and the ease of getting things running. Things I’ll look at next time are deploying Docker containers, hosting containers on the same machine already running Apache, and, if it’s possible, to host developed applications on an existing instance of Apache without Docker. I’ll take a closer look at the deployment process with Docker containers.
There were a few little hiccups along the way, so here are a some references that I found helpful:
Installing Docker on Ubuntu
Missing Mint packages
Installing Missing Mint Packages
Running ASP.NET 5 in Docker containers
Getting Started with ASP.NET 5 and Docker
Setting up VSCode